 KEEP THE STORY · CHANGE THE COVER
A paperback does not have to be rare—or completely ruined—to deserve a new cover.
It may be the copy you carried through college, the novel with a cracked spine, or the book you have read so many times that the cover is beginning to peel away. Paperback book rebinding lets you keep the pages and replace the worn cover with a hardcover case made from greyboard and book cloth.
This beginner guide shows you what happens from start to finish, what you need before you begin, and where first attempts most often go wrong.
You do not need a Cricut, a heat press or a specialist book press. You do need patience, careful measurements and one paperback you are willing to learn with.
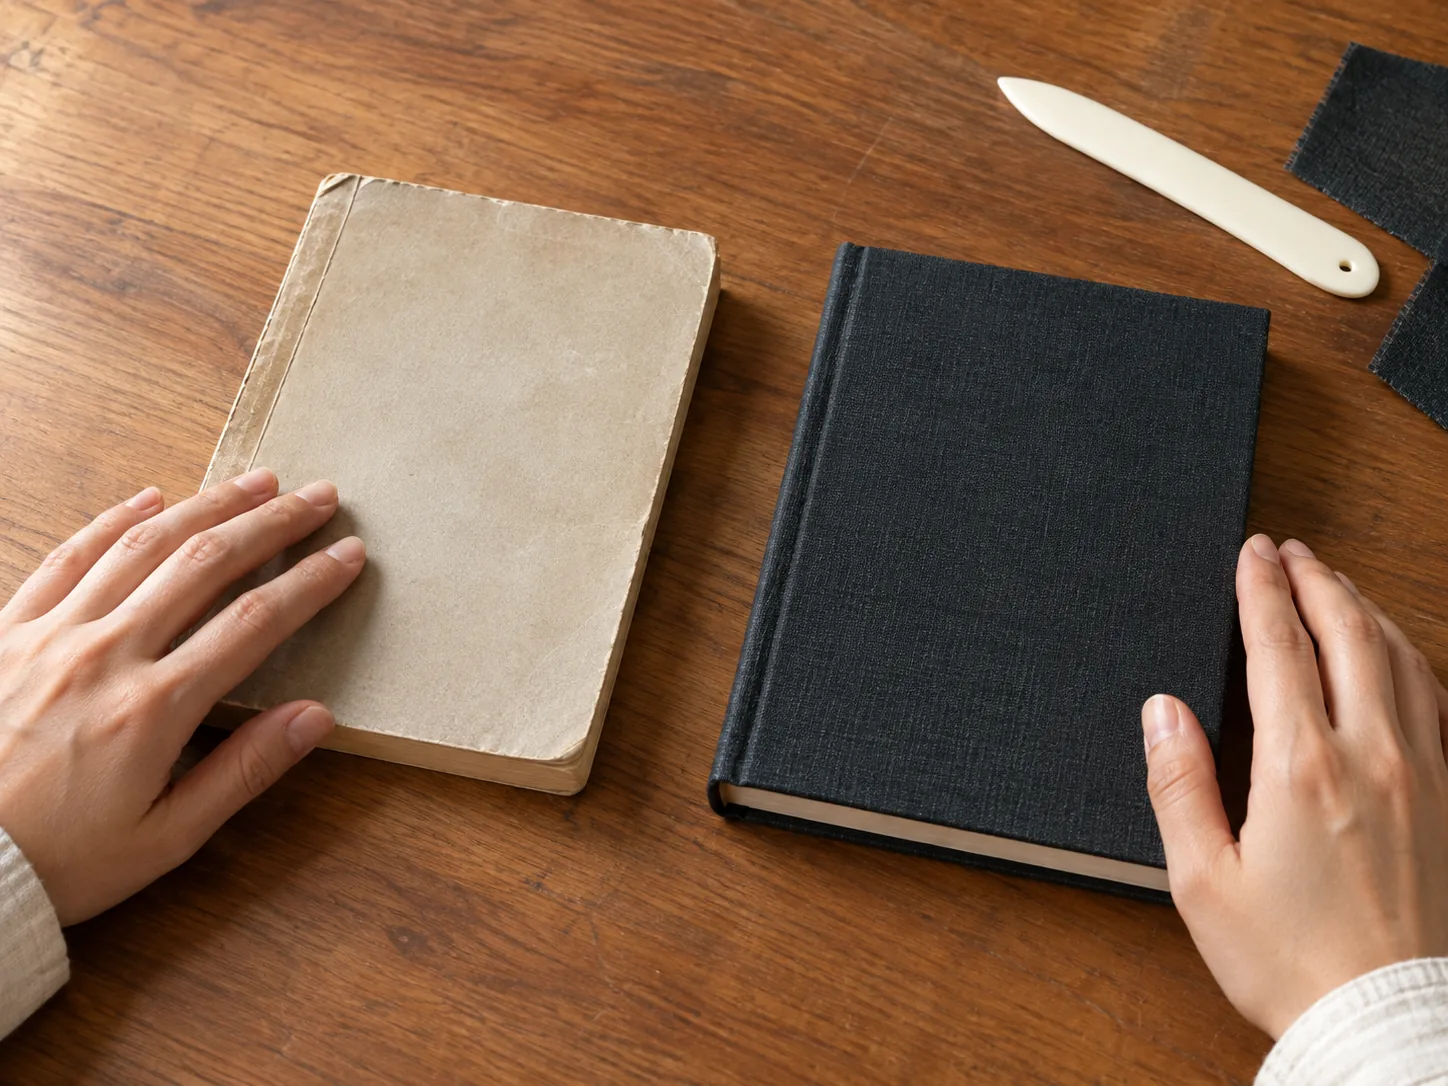
The process at a glance
- Choose and inspect your paperback.
- Remove the original cover.
- Clean and reinforce the spine.
- Measure and cut the hardcover pieces.
- Build the cloth-covered case.
- Attach the text block and endpapers.
- Press the book and let it dry completely.
Your first rebind does not need a complicated cover design. A clean cloth cover that opens properly and holds the pages securely is already a successful first book.
First, make sure you are rebinding the right kind of book
This guide is for a commercially printed paperback with a glued spine. You will keep the existing pages—called the text block—and replace the flexible paper cover with a separate hardcover case.
For a first project, choose a paperback with:
- Pages that are still securely attached.
- No mold, active water damage or brittle paper.
- A spine that is worn but still mostly intact.
- A size that fits comfortably on your cutting mat.
- A story you care about, but not an irreplaceable first edition.
A damaged cover is fine. Loose groups of pages, severe spine damage or missing pages turn the project into a book-repair job and require additional steps.
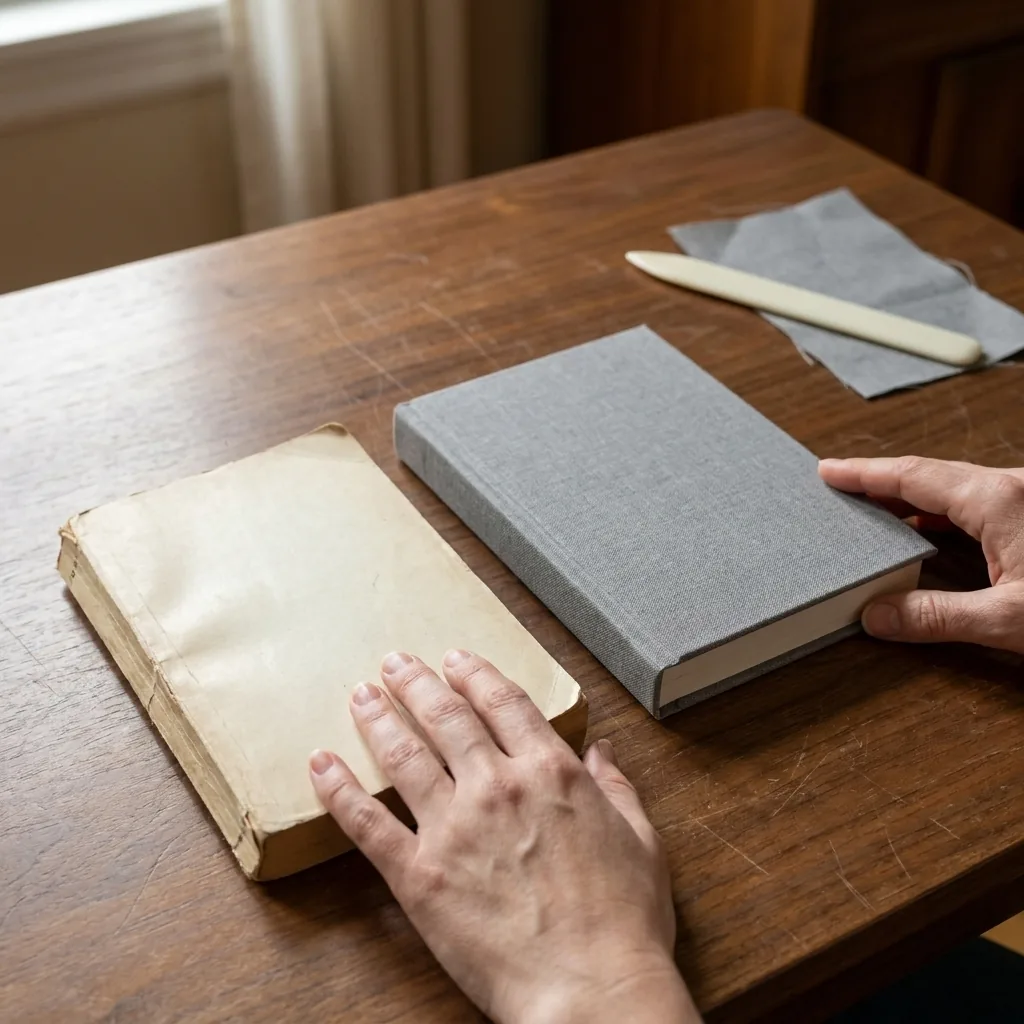
Know the five parts before you start
You do not need to memorize professional bookbinding vocabulary, but these five terms make every tutorial easier to follow.
Text block
The pages of your paperback after the original cover has been removed.
Cover boards
The two pieces of greyboard that become the front and back covers.
Spine board
The narrow strip of greyboard between the front and back covers.
Hinges
The spaces between the spine board and cover boards. These spaces allow the finished cover to open.
Endpapers
The folded sheets that connect the text block to the inside of the new hardcover.
The headband is the small decorative strip visible at the top and bottom of the spine. It gives the finished book a traditional detail, but it does not hold the pages together.
What you need to rebind a paperback
The materials fall into three groups.
Materials that become part of the book
- Greyboard for the front cover, back cover and spine.
- Paper-backed book cloth.
- Endpapers.
- Mull cloth for reinforcing the spine.
- Headband.
- PVA bookbinding glue.
Tools used during the process
- Cutting mat.
- Rotary cutter for book cloth.
- Utility knife for greyboard.
- Metal ruler.
- T-square or set square.
- Corner guide.
- Bone folder.
- Silicone glue brush.
- Wide-jaw clip or another flat pressing method.
Things to bring from home
- The paperback you want to rebind.
- Household scissors.
- A utility knife.
- A pencil.
- Clean scrap paper to protect the pages while gluing.
- A few heavy books or another flat weight while the book dries.
Step 1: Inspect the book before removing anything
Take a minute to look at the book while it is still intact.
Check which side is the front, where the first page begins and whether any pages are loose. Photograph the book from the front, back and spine. These photographs are useful if you forget the page orientation later.
Open the front and back covers and look at the spine from the inside. If the pages separate cleanly from the cover, removal should be straightforward. If the paper feels brittle or begins tearing into the text, stop and choose a less fragile first project.
Do not start with glue. Your first job is simply to understand how the existing book is constructed.
Step 2: Remove the paperback cover slowly
Open the front cover and carefully separate it from the first page near the spine. Repeat at the back.
Work slowly and remove only the cover material. Do not cut deeply into the spine or pull hard enough to loosen the pages.
Once the cover is removed, small pieces of paper or old adhesive may remain on the spine. Gently remove loose material, but do not keep scraping until the spine looks perfectly clean. The goal is a stable surface, not a bare one.
Step 3: Reinforce the spine
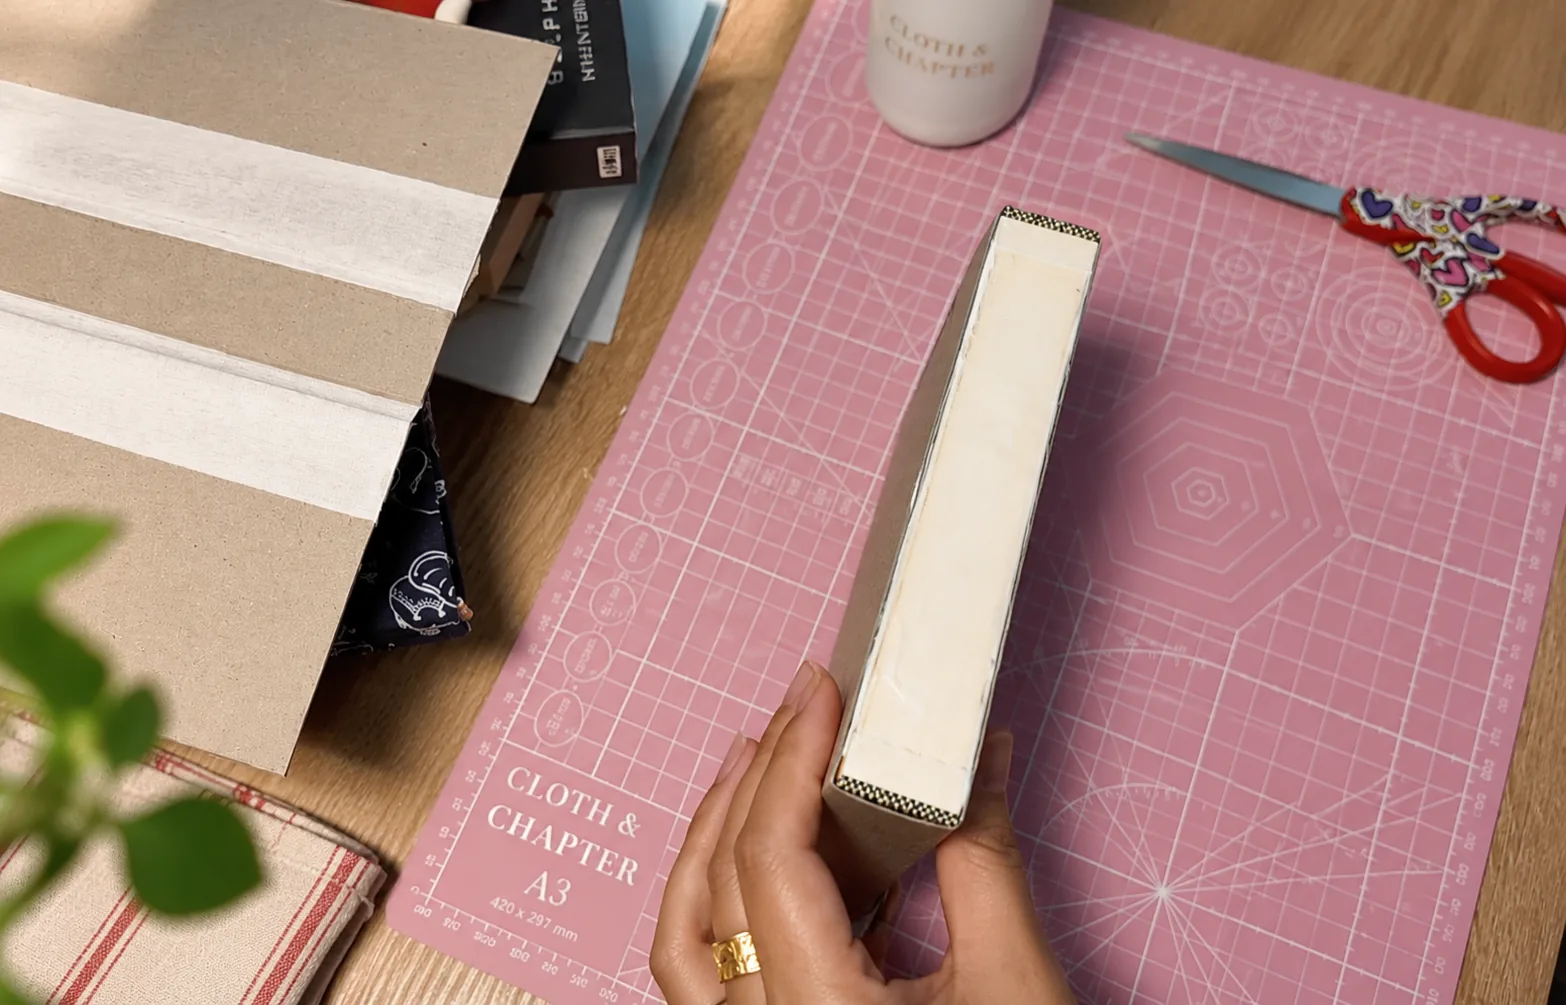
Place the text block with the spine facing upward.
Apply a thin, even layer of PVA bookbinding glue. Too much glue adds moisture, increases drying time and can make the spine stiff or uneven.
Position the mull cloth over the spine while leaving the sides free. Those side flaps will later help connect the text block to the new cover.
Add the headband at the top and bottom of the spine if you want that traditional finished detail. Let this stage dry before repeatedly handling or measuring the book.
Step 4: Measure the text block—not the old cover
Paperback covers can curl, stretch and sit unevenly. Do not use the removed cover as your only measurement reference.
Record the text block height, text block width, spine thickness, desired overhang and hinge space between the spine and cover boards.
Cut two matching cover boards and one spine board. Label the pieces lightly in pencil so you do not mix up their orientation.
Before applying any glue, arrange all three pieces around the closed text block. Check that the top and bottom overhangs match, the fore-edge overhang is even, the spine board is centered, the hinge spaces are equal and the cover can open without pushing against the spine.
This dry fitting step is where you should catch measurement problems. Finding a board that is too short now is frustrating. Finding it after the cloth has been glued is much worse.
Step 5: Build the hardcover case
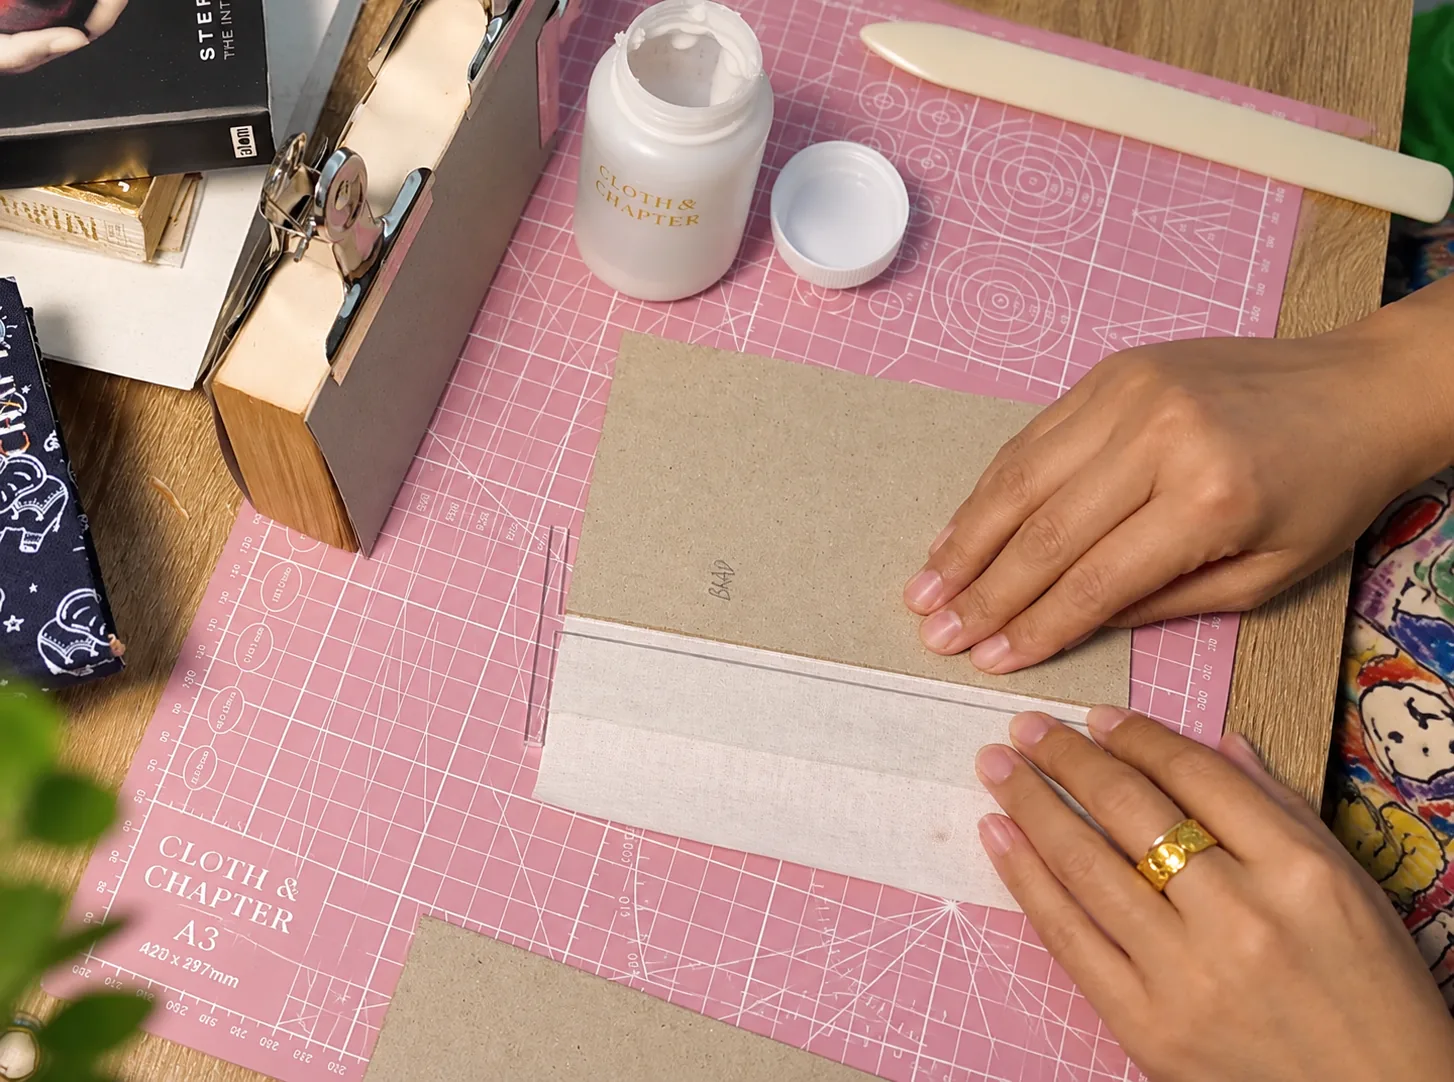
Place the book cloth paper-side up on the cutting mat.
Arrange the front board, spine board and back board on the cloth. Use the T-square or set square to keep the boards aligned and maintain equal hinge spaces. Mark the position lightly before gluing.
Apply a thin, even layer of PVA to the back of the first board and return it to its marked position. Repeat with the spine and remaining board. Smooth each section from the center outward to remove trapped air.
Trim the cloth around the case, leaving enough material to fold over every edge. At each corner, use the corner guide before trimming. Cutting too close to the board can leave the greyboard exposed when the cloth is folded.
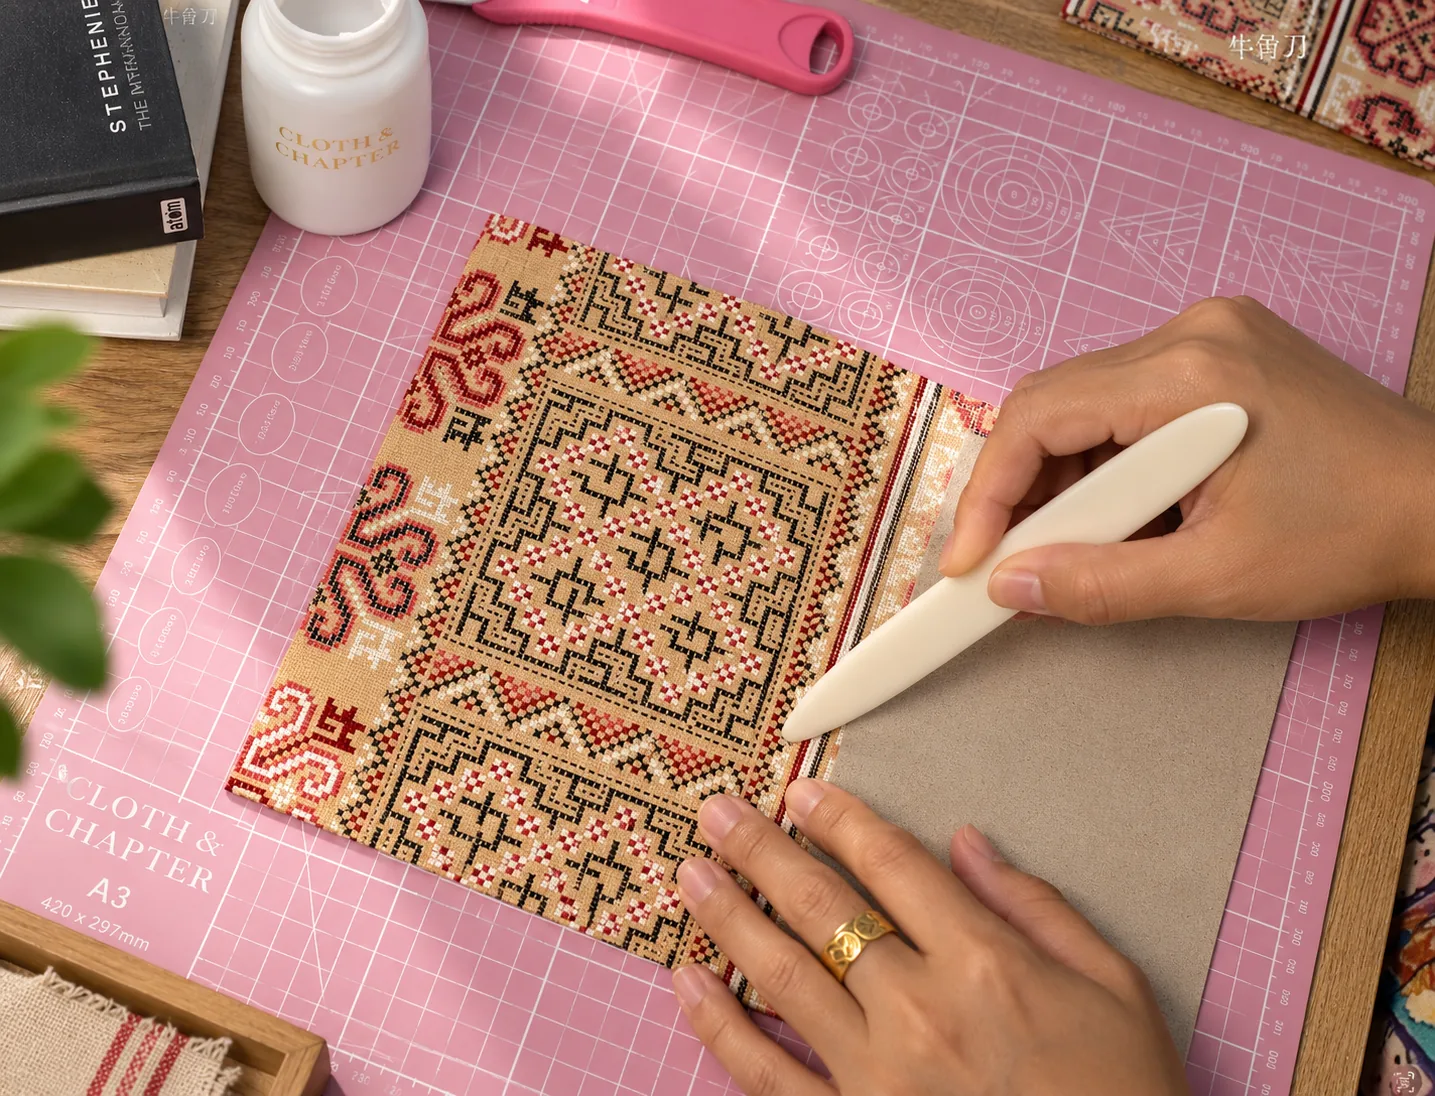
Fold in the long edges first, then the short edges. Work the cloth around each corner with the bone folder until the fabric lies flat.
Step 6: Attach the text block and endpapers
Put the dry text block inside the finished case before adding glue.
Close the case and check the position from all four sides. The pages should sit evenly within the cover. Make small pencil marks if they will help you return the text block to the correct position.
Attach the mull flaps to the inside of the cover as directed in the tutorial. Then work on one endpaper at a time.
Place clean scrap paper behind the sheet you are gluing. Brush on a thin, consistent layer of PVA, paying attention to the edges without flooding the paper.
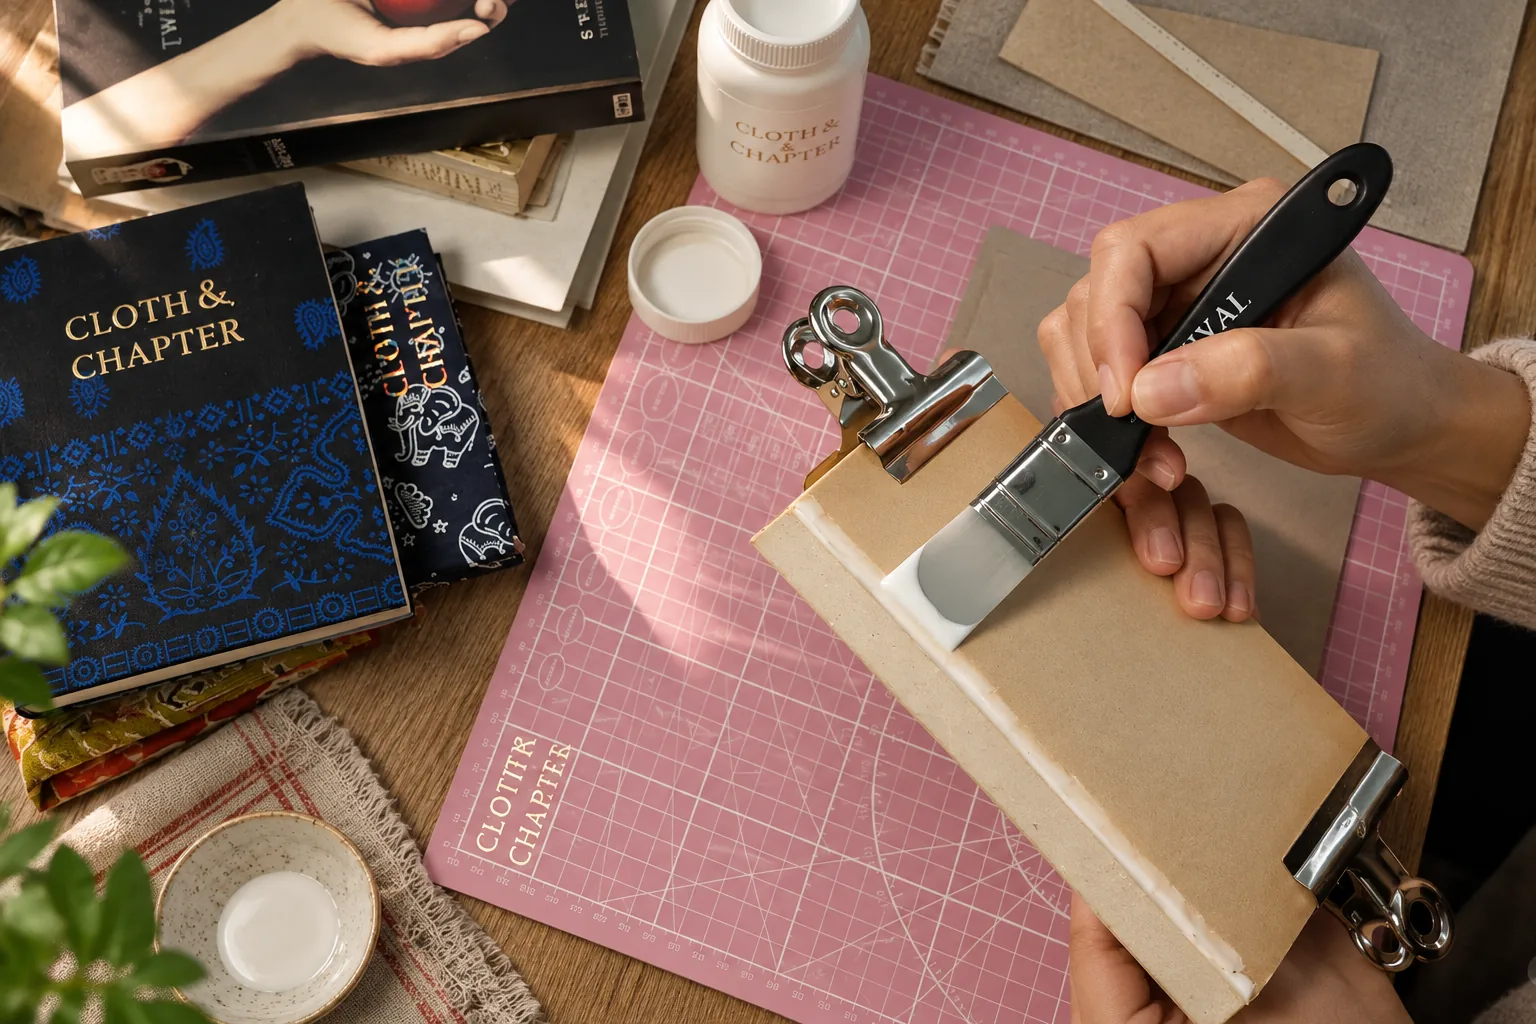
Lower the cover onto the endpaper instead of trying to push a wet endpaper around inside the case. Smooth gently with the bone folder, replace the damp scrap paper and repeat on the other side.
Close the book carefully and check that the text block has not shifted.
Step 7: Press, dry and open the book carefully
Place clean protective paper inside the front and back covers. Close the book and make sure the spine is straight.
Press the book flat using the wide-jaw clip where appropriate and a flat, evenly distributed weight. You do not need a specialist book press, but you do need steady pressure.
Leave the book undisturbed until the adhesive has dried completely.
When you open it for the first time, support both covers and move slowly. Check the hinges, endpapers and alignment before opening the book all the way.
A handmade first book may have a slightly uneven corner or a visible glue mark. That does not mean the rebind failed. Ask whether it opens comfortably, whether the pages are secure, whether the case protects them—and whether you want to make another one.
Do you need a Cricut to rebind a book?
No.
A Cricut can be useful for cutting decorative titles and detailed cover graphics, but it is not required to build the hardcover itself.
For your first rebind, you can leave the book cloth plain, add a removable paper label, use a simple stencil, add a hand-painted design, or concentrate on the structure now and decorate the cover later.
The cover design is optional. Accurate boards, secure endpapers and a working hinge are not.
Five mistakes to avoid on your first rebind
1. Starting with your most valuable book
Choose something meaningful, but replaceable. Your first book is also your practice book.
2. Cutting before checking every measurement
Measure the text block, record the numbers and dry-fit the boards before gluing.
3. Using too much glue
More glue does not automatically create a stronger book. A thin, even layer is easier to control.
4. Rushing the endpapers
Wet paper stretches and wrinkles easily. Glue one side at a time and keep the surrounding pages protected.
5. Judging the book before it is dry
A damp case can look warped or uneven. Let the book dry under flat pressure before deciding what needs fixing.
Your first rebind does not need to look like anyone else’s
One of our recent rebinds began with a paperback whose cover was already peeling away. The pages were still worth keeping, so the spine was reinforced and the damage became the starting point for a new two-fabric hardcover.
That is the part of book rebinding we care about most: the story stays, while the outside becomes yours.
If you want the specialist materials and practical tools chosen for you, explore The First Chapter Beginner Book Rebinding Kit.
If you are not ready to begin yet, join the First Chapter list. We will send the beginner price and let you know when the next set of tutorials is ready.
See you at the next chapter.
Know someone planning their first rebind?
Send them this guide before they start cutting.